
Scuffs & surface wear
Review abrasion, worn edges and areas where the original color has thinned.
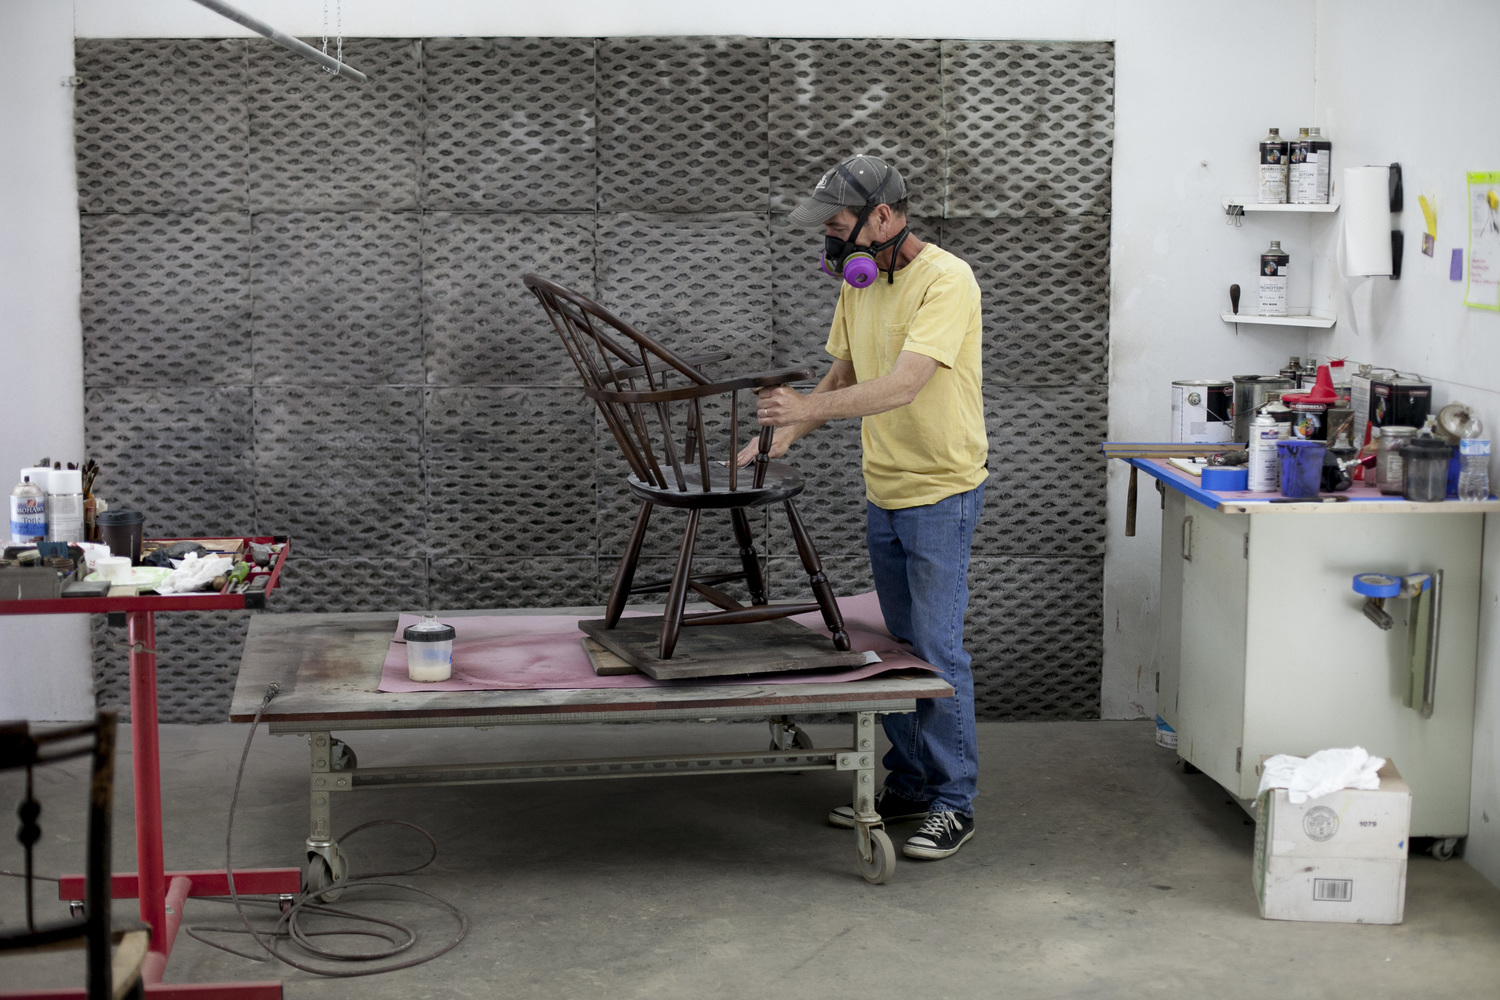
Fort Collins restoration studio Leather furniture
Condition-led repair for leather chairs and sofas, coordinated with the frame, support and finish beneath the surface.
We distinguish valued age and patina from active damage, then evaluate whether targeted repair, color work or broader restoration is appropriate.
Review abrasion, worn edges and areas where the original color has thinned.
Assess whether the leather remains stable enough for treatment or requires a different repair path.
Evaluate localized color correction and broader appearance concerns without promising an artificial uniformity.
Inspect open seams, punctures and damaged sections alongside the access and material available.
Address loose structure and seating problems that can continue stressing the leather.
Preserve usable original material and character wherever the condition makes that responsible.
Share the entire piece, damage in natural light, seams, cushions and any manufacturer information.
We consider the leather type and condition alongside frame, support and access needs.
The proposed treatment is matched to the material instead of assuming every surface accepts the same products.
Approved work is completed to the agreed scope, followed by practical maintenance guidance.
This related chair project demonstrates the structural and finish standard applied before surface material is considered complete.
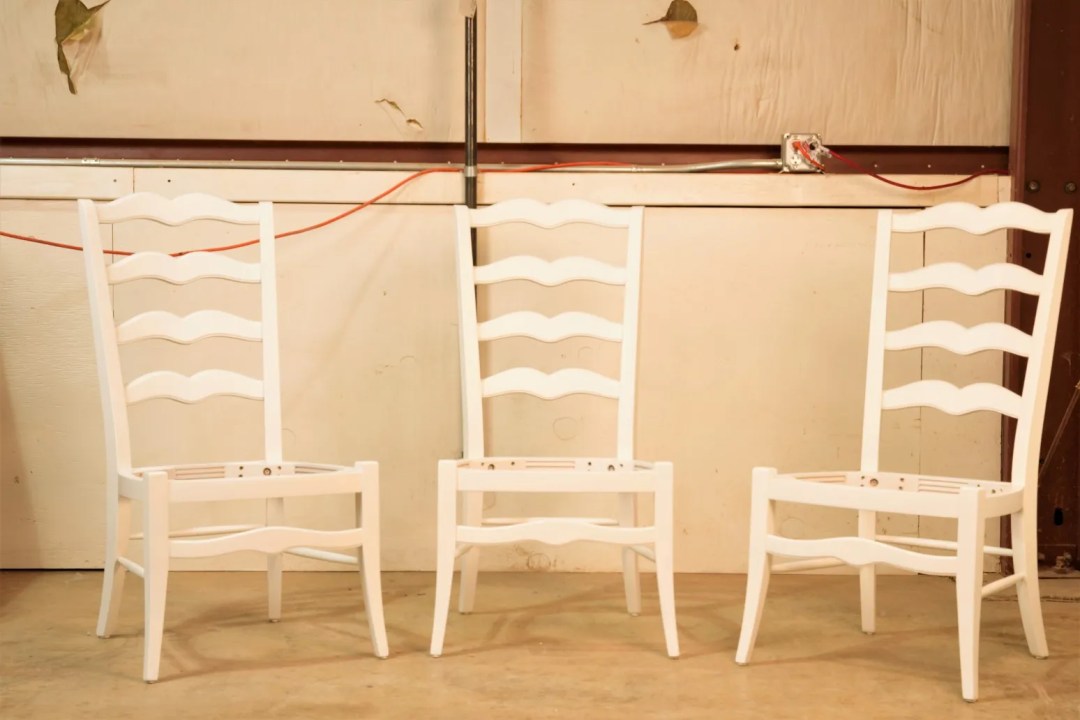
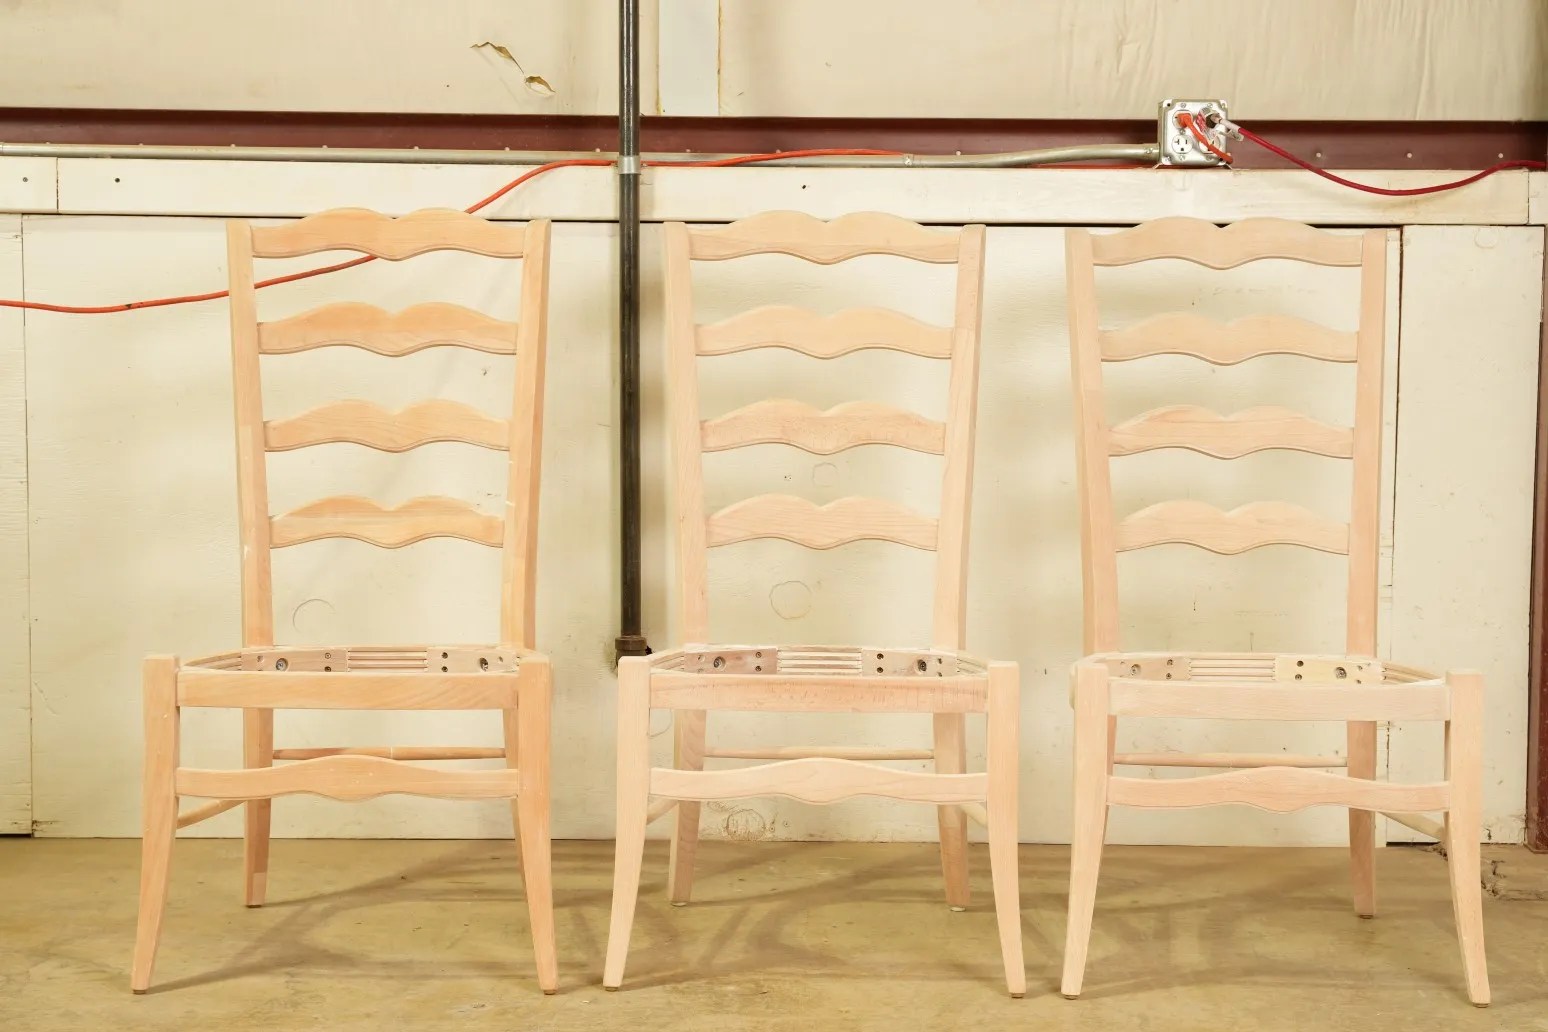 BeforeAfter
Leather type, previous products and current stability determine what work is responsible.
Normal age and use can be part of the character; the goal is not to make every surface look newly manufactured.
Frame and support problems are identified so repaired leather is not returned to a failing structure.
Leather furniture assessments and related restoration are coordinated through our Fort Collins restoration studio, with Denver showroom consultation and approved intake available by project.
Some cracking and surface wear can be improved, while advanced failure may require panel replacement or may not be a good restoration candidate. Photos are the first step.
Color correction can be evaluated, but leather age, dye, wear and previous products affect how closely a repair can blend.
Conditioning may be part of an appropriate care or restoration plan, but products should not be applied blindly to unidentified or unstable leather.
Yes. Structural access and how the leather will be opened and returned must be included in the scope.
No. Severe material breakdown, bonded or composite leather failure, inaccessible construction or unavailable matching material can limit a responsible repair.
Send full views, close-ups in natural light, approximate dimensions, manufacturer details if available and notes about any movement or sagging.
Request an estimate
Show the full piece, the areas that need attention and anything you want preserved. We’ll review the project and recommend a practical next step.