
Worn arms & seat edges
Evaluate abrasion, color loss and cracking in the areas touched most often.
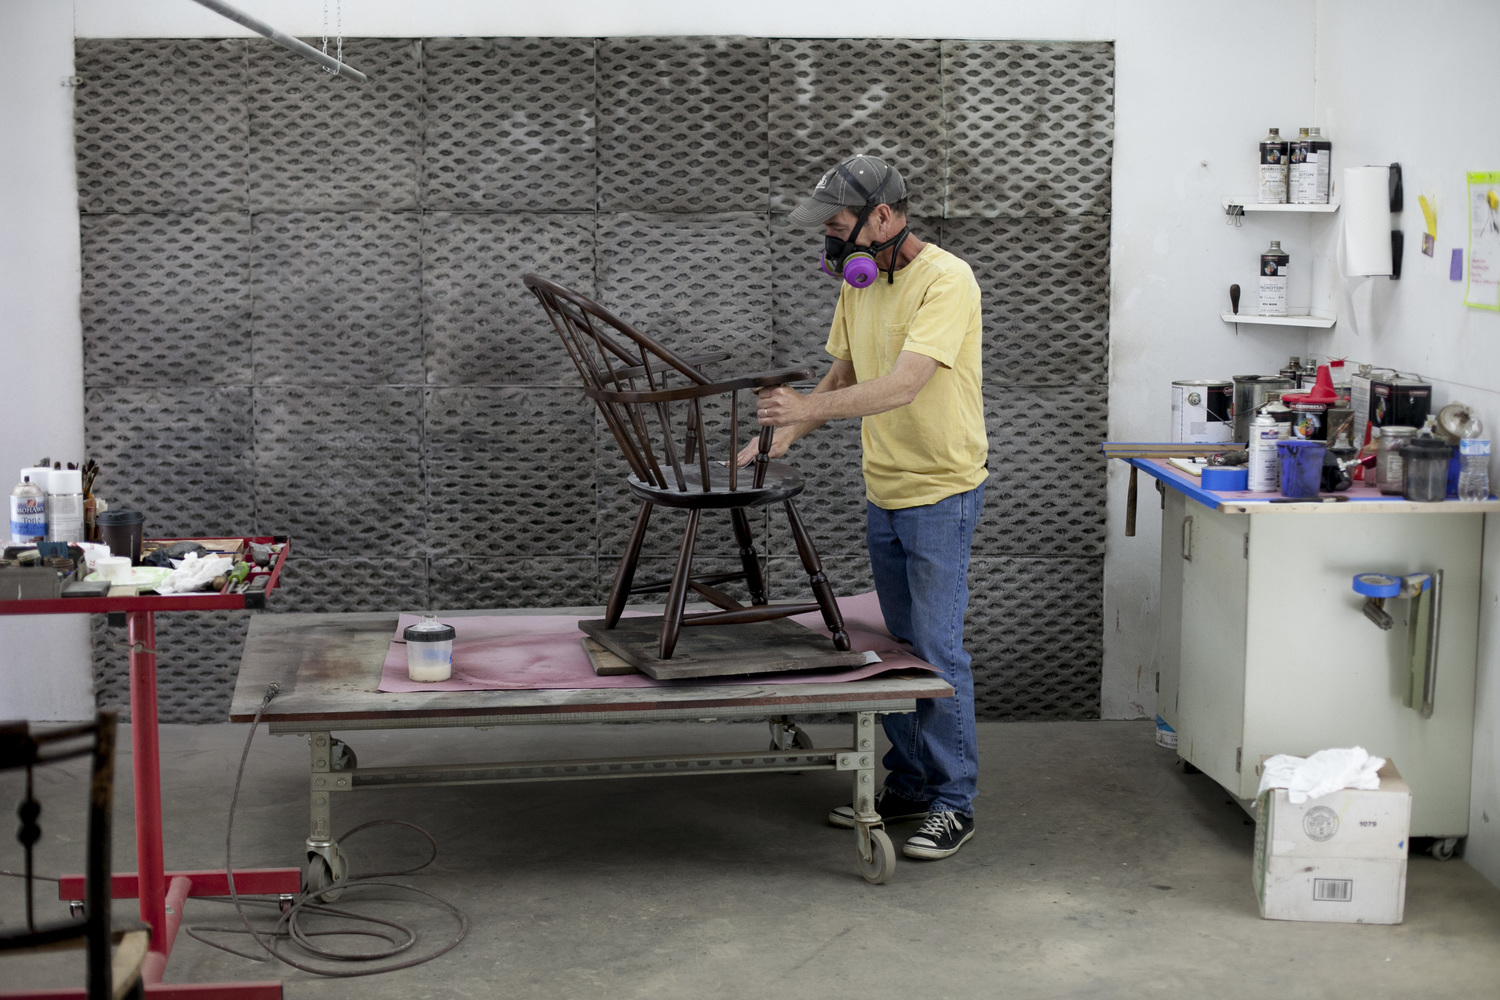
Fort Collins restoration studio Leather chair
Repair for leather chairs where worn material, tired support and wood-frame problems need one coordinated plan.
Arms, seat edges, cushions, seams and joints take repeated stress. We identify how the chair is failing before defining the repair.
Evaluate abrasion, color loss and cracking in the areas touched most often.
Review stitch failure and localized damage for repair access and material stability.
Assess compressed padding, sagging and the support system beneath the leather.
Repair movement in the wood structure before it causes further stress to the covering.
Plan correction around the existing leather, patina and previous treatments.
Retain original material and construction where their condition and intended use allow.
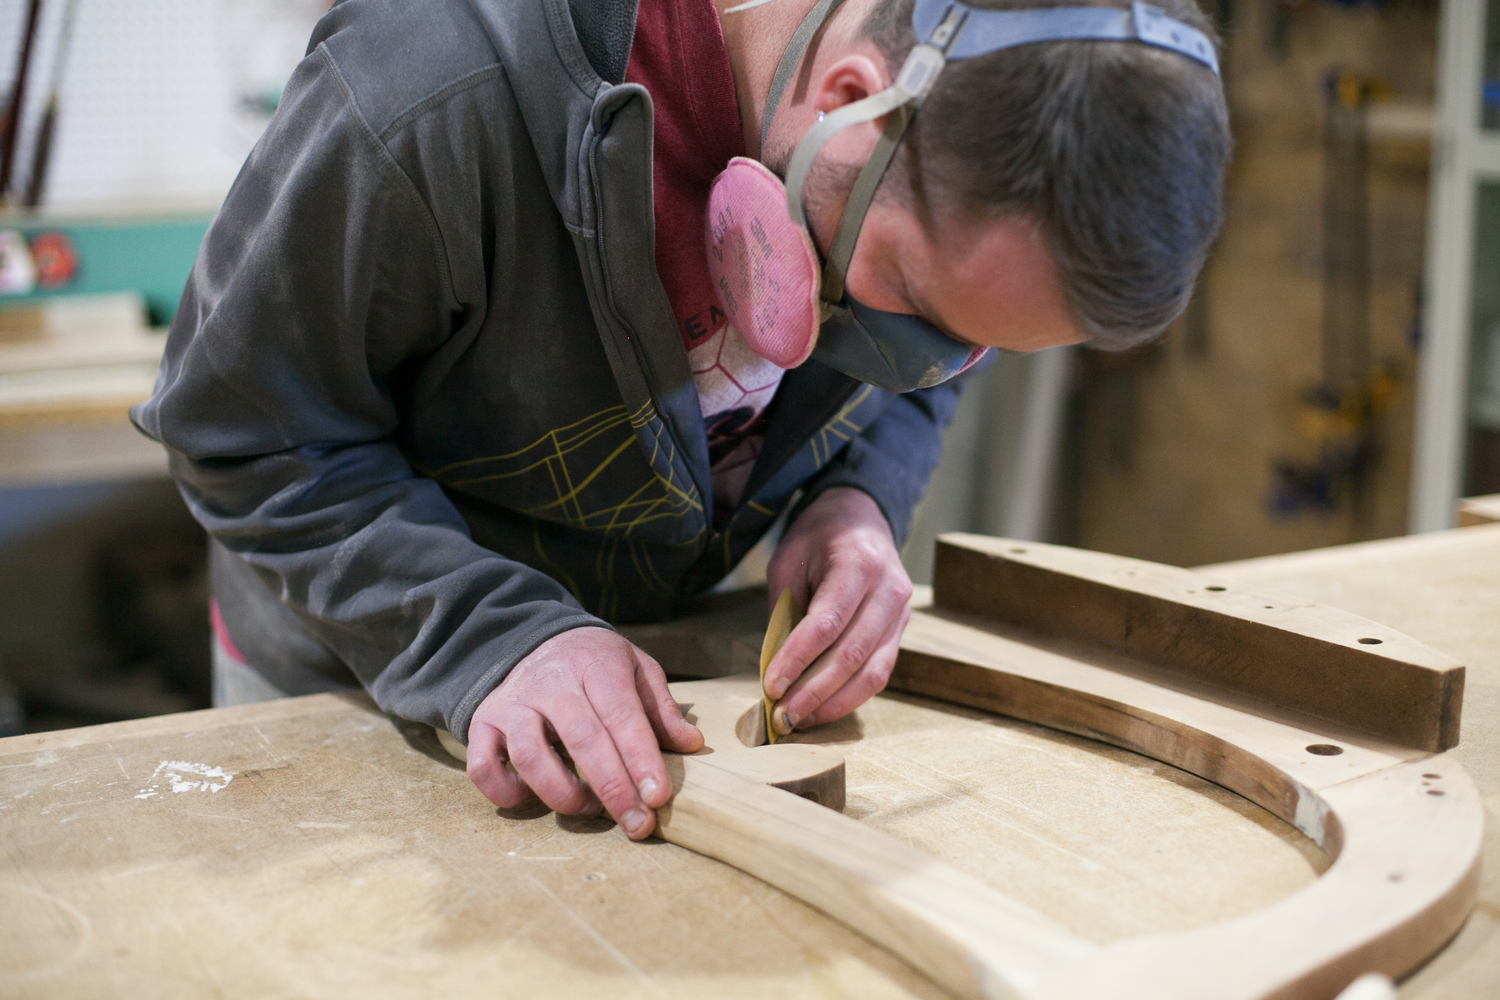
Share front, back, sides, underside, cushion, damaged leather and any moving joints.
We separate leather wear from padding, support and structural problems.
Frame and support work happens before final leather repair, color work or reassembly.
The chair is checked for movement and appearance, then returned with appropriate care guidance.
This antique chair project shows the structural-first standard behind our chair repair work.
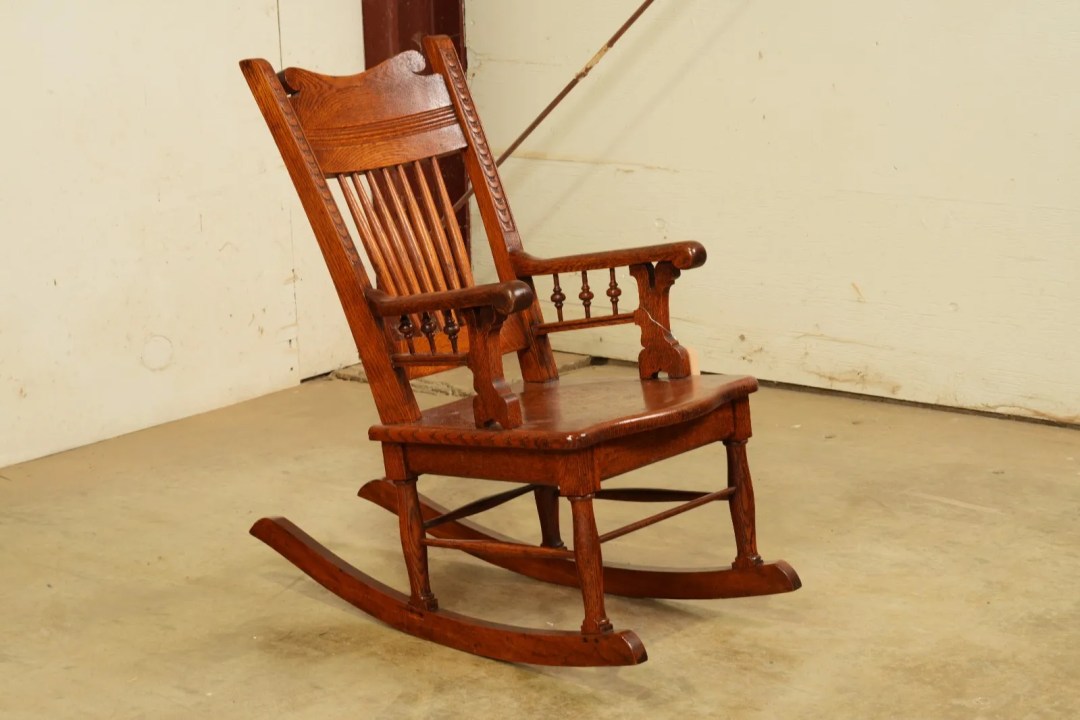
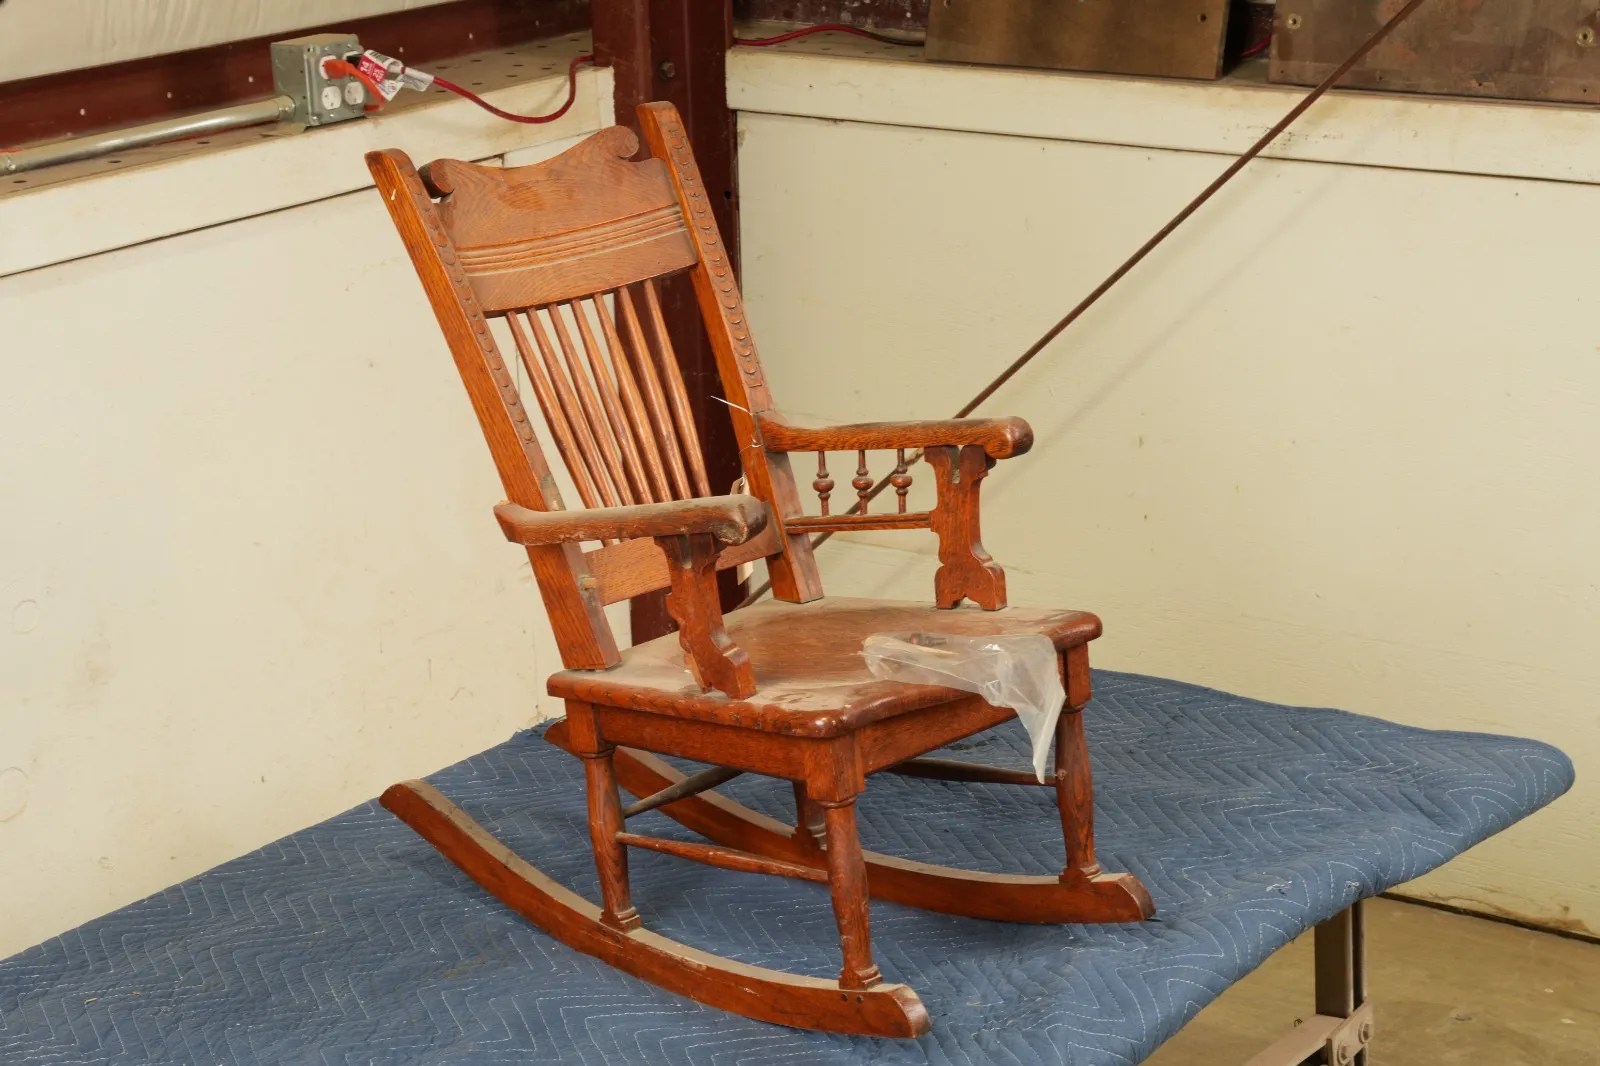 BeforeAfter
Arms, seat edges, cushion, joints and underside are evaluated as connected parts of the chair.
Repair decisions account for patina and age rather than automatically pursuing a uniform new appearance.
We explain when leather condition, matching material or construction limits what can be repaired responsibly.
Leather chair repair and related frame restoration are coordinated through our Fort Collins restoration studio, with Denver showroom consultation and approved intake available by project.
That depends on construction, comfort, sentimental value, leather condition and repair scope. We provide the condition information you need to make that comparison.
Surface wear, some cracking, color loss, seams, localized damage, padding, support and frame problems can all be evaluated. Not every material failure is repairable.
We can evaluate color correction, but age, wear, dye and earlier products affect how closely the repair can blend.
Sometimes. Access to the joints and the condition of the leather determine whether structural repair can be completed while preserving it.
Timing depends on material evaluation, structural work, matching needs and the current studio schedule. An estimate includes a project-specific expectation.
Send photos from every side, close-ups of the leather, the underside, approximate dimensions and a short description of movement, comfort or damage.
Request an estimate
Show the full piece, the areas that need attention and anything you want preserved. We’ll review the project and recommend a practical next step.